Sunday, 20 May 2012

Adding appearances and rendering

Continued to develop the assembly and added appearances to parts.

Section showing interior details and parts

Adding a decal

I tried to apply a sandblasted finish to the buttons and lower housing but couldn't quite get it right.
When I applied the texture the decal would become grainy and distorted, so I decided to leave the parts as a low-gloss plastic in the renderings. 

Starting to work on rendering

Developing parts

Developing the lower housing

I approximated a boundary surface to define the interior surface.

I trimmed the excess away from this new surface and lofted between the two.

starting to add details

Added thickness when appropriate

The buttons part was the simplest of the three.

Starting to develop an assembly. I was able to reuse circuit board, wheel. lens and cord parts from earlier models.

Week 9 - Surfaces

After seeing the demo in week 9 I realised I could generate a better model by creating the upper housing and buttons in lots of different sections then knitting them together.

I went through the same process as before to generate the first loft for the lower housing.

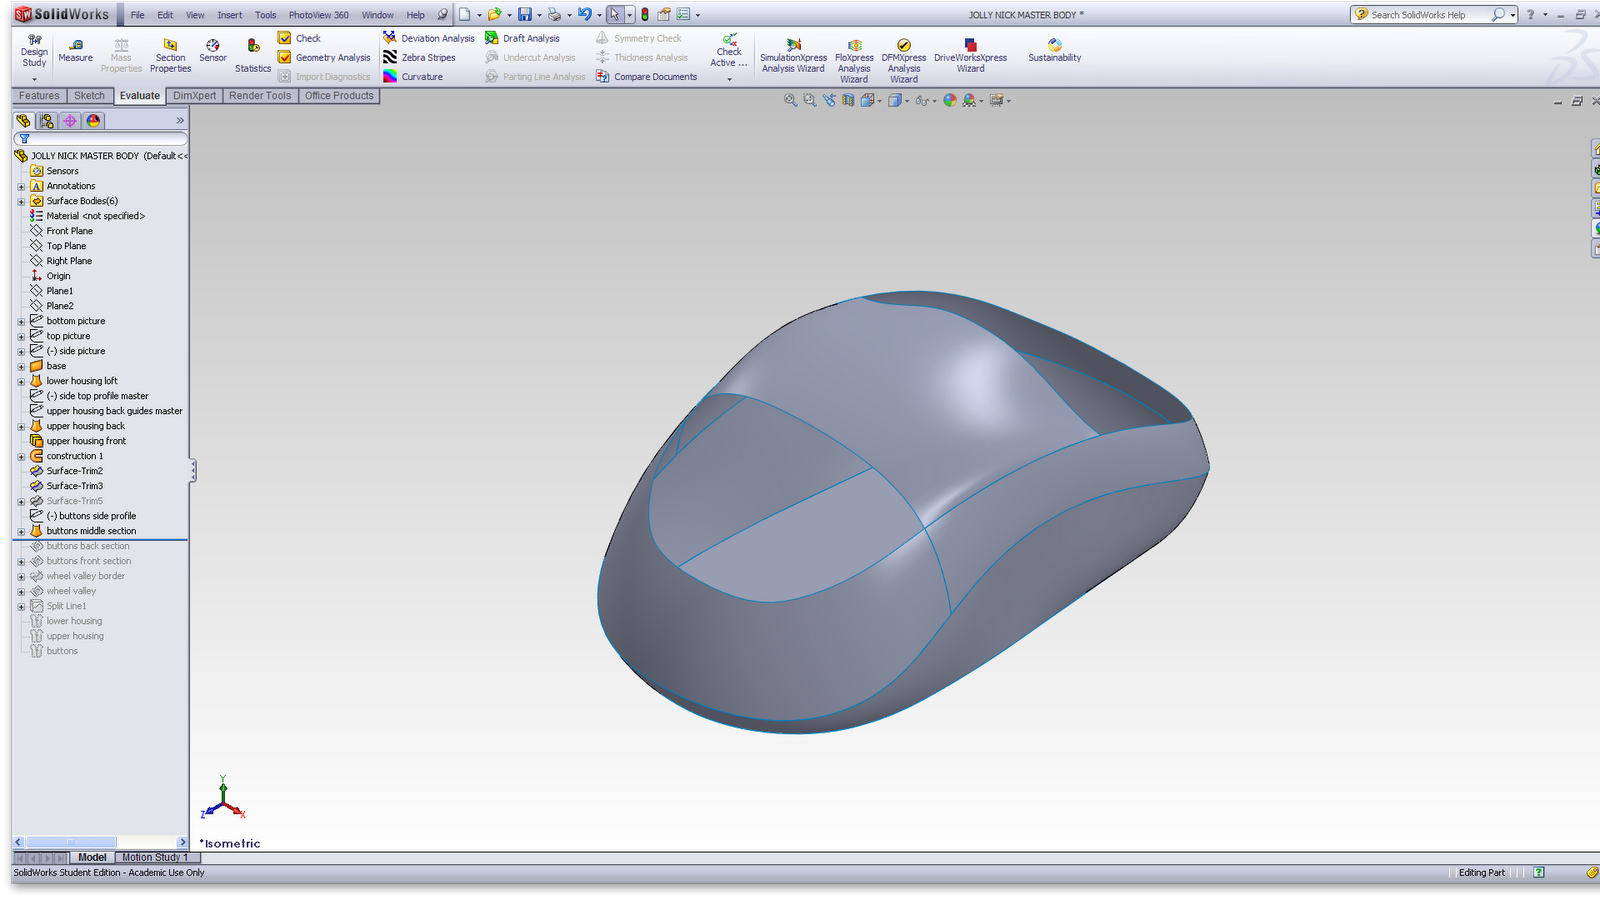
I created a second loft from the top of the first one to the crease line in the buttons. 


I separated this loft into a back and front section in order to create surfaces for the buttons.

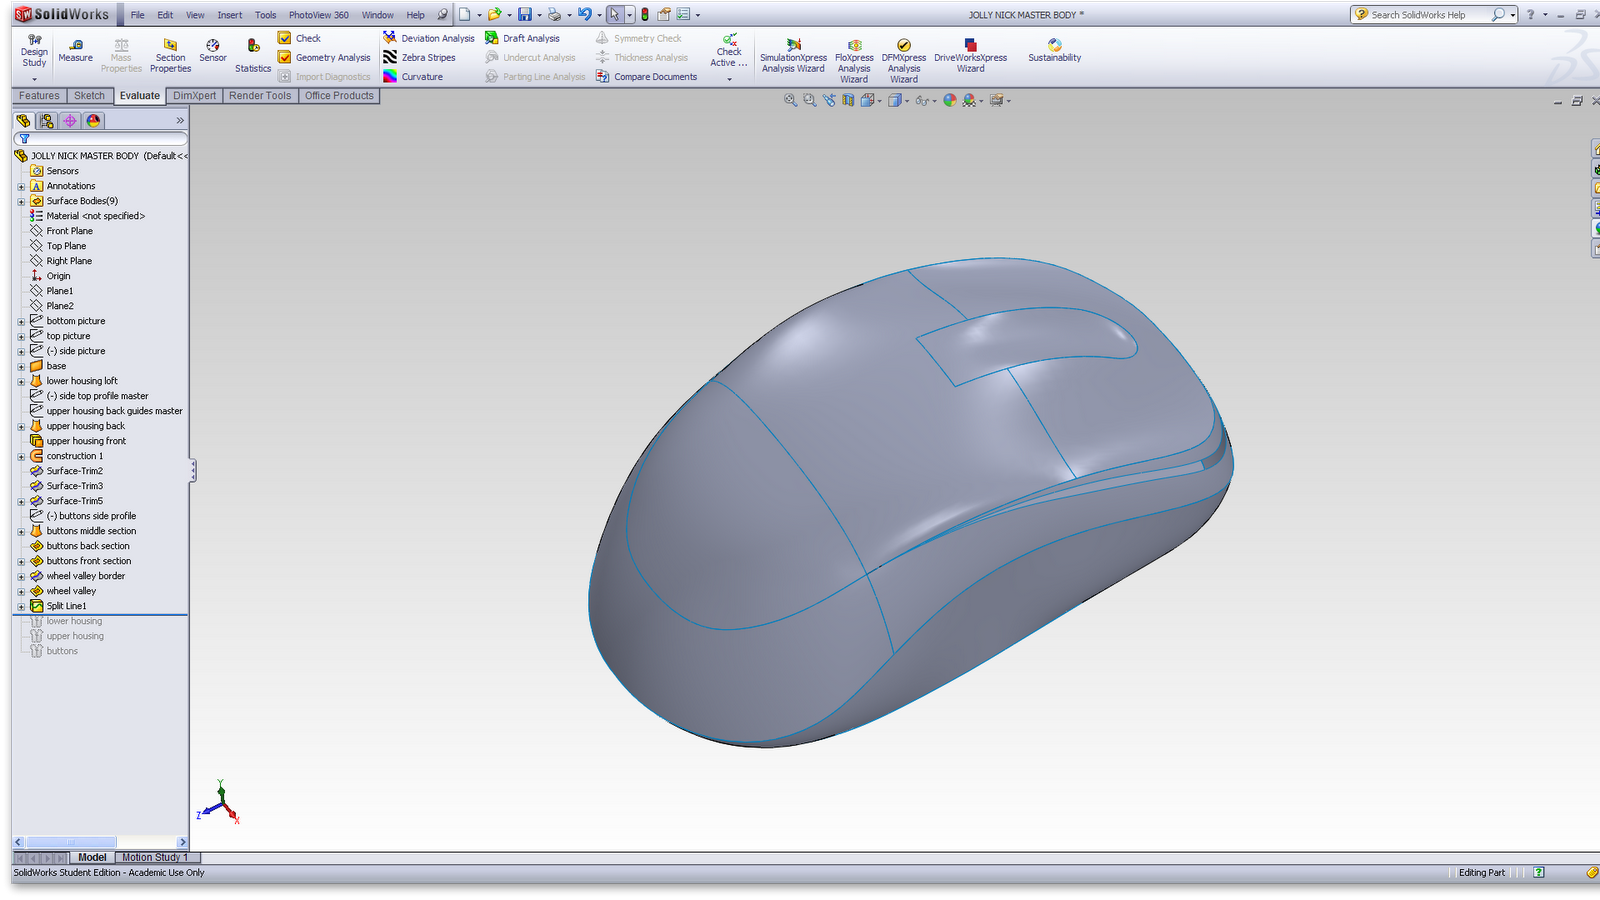
My next step was to loft the middle section of the buttons.


I was able to use the fill surfaces to complete the body. 
For each fill I used a curvature continuous relationship to the middle section for to ensure a high quality surface.

I used a surface trim to generate the outline of the valley for the wheel cutout.

I used a surface fill to create the valley for the wheel cutout.

I trimmed a section away from the middle section to create the space between upper housing and buttons.

Zebra stripes showing continuous curvature across the top and around the back.

I created three surface knits; one for the lower housing, one for the upper and one for the buttons.
I saved these as part files in order to add thickness and details.

Tuesday, 1 May 2012

Week 8 - In class

I knew when I made the upper housing that I would probably need to start it again.
I decided to try it again with a boundary surface, which worked much better.

Splitting the original profile into two sketches eliminated the errors I had run into earlier.

Constructing the boundary surface - needs half the guides of the loft and produces a much better surface.

The completed surface.

Using zebra stripes to show the quality of the surface and the crease around the buttons in the right place.

The boundary surface (without the valley detail yet) in the context of the assembly.

Week 7 - Upper Housing

I tried creating the upper housing and buttons in one part using another surface loft.

I used a 3D sketch and the 'convert entities' tool to copy the top edge of the lower housing part.
I tried using this sketch as a profile for a loft, a boundary surface, a surface fill etc. but always ran into errors.

I solved these problems by splitting it into two sketches; one for each side, symmetrical around the right side plane.

I created a sketch on the right face plane for a profile running across the top of the part.
I drew a series of guide curves; I found I needed lots to make the loft resemble the upper housing, but was still left with a pinched nose and a very wrinkly and uneven surface.


Constructing the surface loft.

The resulting loft.

Using the zebra stripes function to check the quality of the surface.

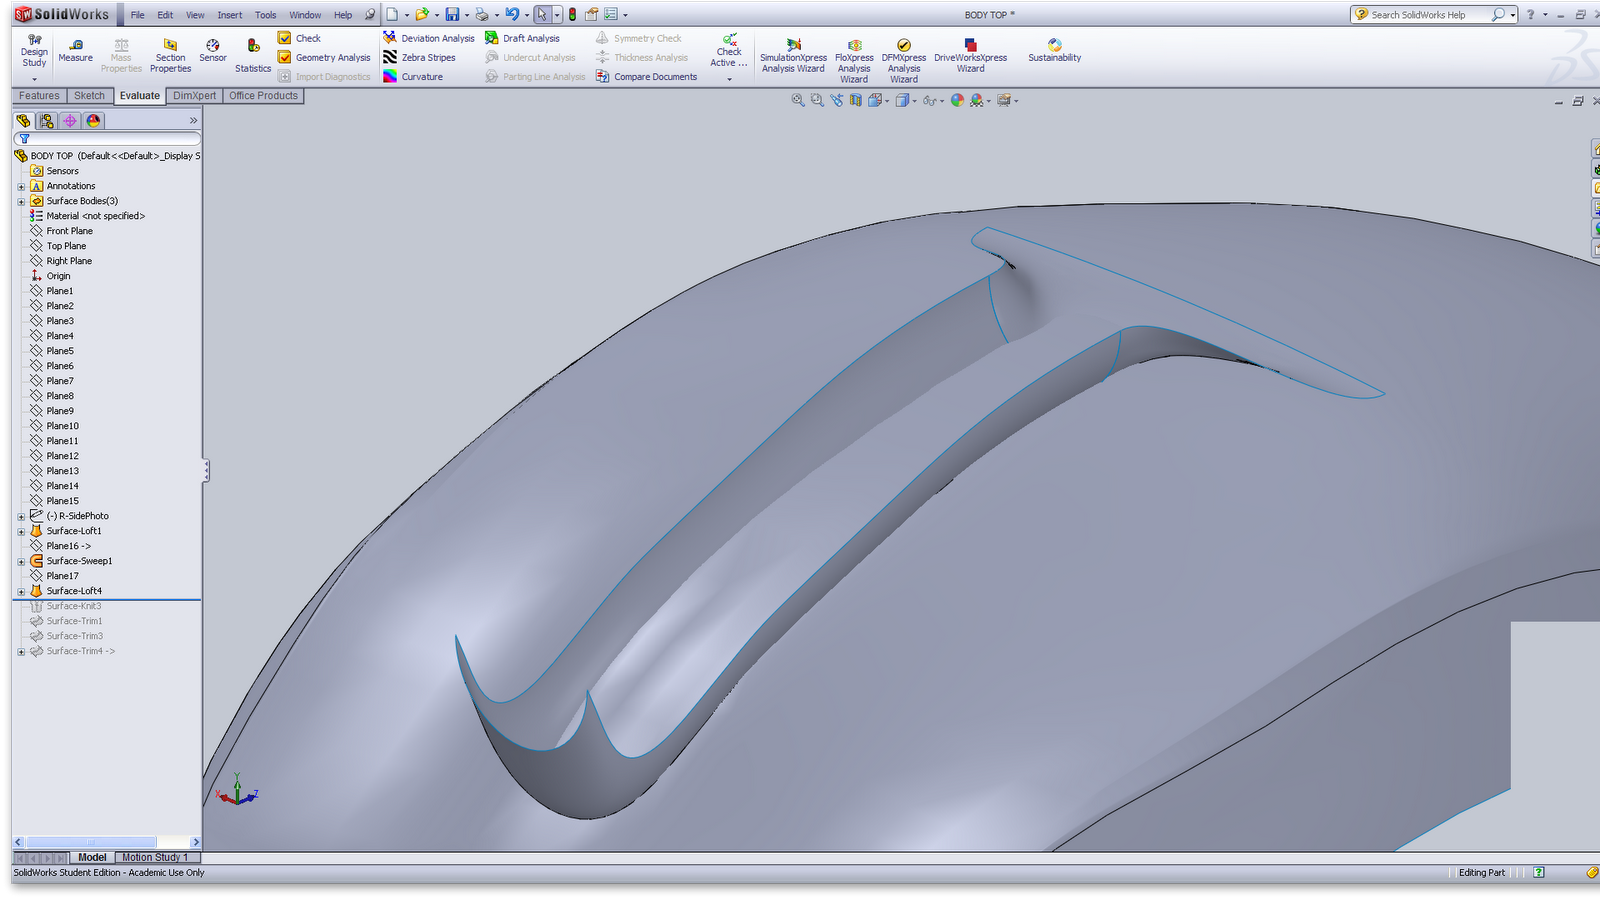
I created another surface, made up of a sweep and a loft, to create the valley detail around the wheel.

The upper housing in the context of the assembly.


Starting Project 2

I started work on this project in the 2nd week of the break.

I decided from the beginning to model the upper and lower housings separately rather than creating one solid body and using a 'split' command to generate the parts.

My first attempt at the bottom housing was a series of solid lofts which i planned to shell.


Three lofts used to generate the lower housing.

I could see straight away that this method wasn't going to generate a continuous smooth surface; this was confirmed when I shelled the object.


The shelled lofts.

I discovered the surfaces toolbar and started experimenting with the different commands. I decided to try and generate the form using a surface loft.

Generating the surface loft using a series of profiles and one guide curve at the base.

The completed loft.


 Using an extrusion to create the bottom face and a thicken to add wall thickness.

I found the surface loft command very easy to use; I ran into less errors than I did with solid lofting. I spent most of the time adjusting the profiles to create the smoothest and most accurate surface I could. 

With the main body done, I could start work on the interior details and components, including the circuit board, wheel, lens and cord. 

Interior details of lower housing.

Top view showing interior components.

Exploded view.

I paid attention to detail and how it all fits together. (exploded view)

I didn't run into any problems modelling the interior components. I thought it was a good kind of refresher course for skills like editing parts inside an assembly that were introduced with the bottle assignment.

Wednesday, 4 April 2012

Technical Drawings

I completed the technical drawings without too many problems.
Probably the only issue I had was with dimensioning the lid part. I was trying to fully dimension the inside parts like the valve and the drawing was getting too busy. I was also unsure about using datum, because these parts would be made individually then assembled, not made as a single part.
I ended up just putting in some salient dimensions for the inside mechanism, and dimensioning the outside as well as I could.

The lid/pump action mechanism part drawing

I created an exploded view of the lid part just to show how it all goes together.


I finished with  an assembly drawing with a bill of materials for the bottle.
I found these drawings quite easy and finished them within a few hours.