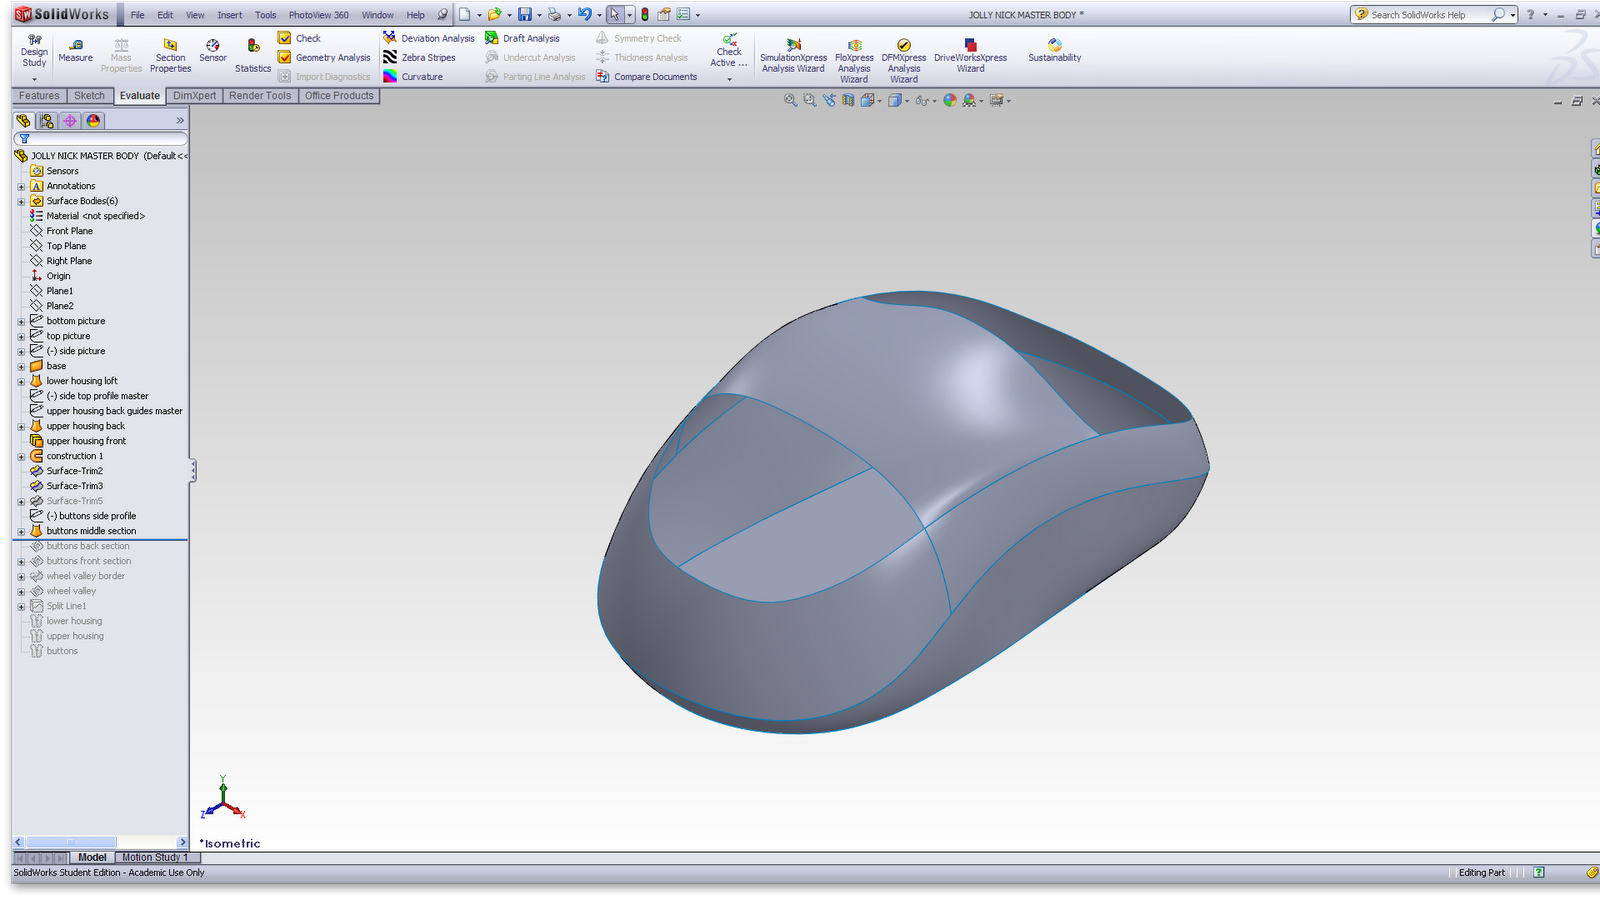
After seeing the demo in week 9 I realised I could generate a better model by creating the upper housing and buttons in lots of different sections then knitting them together.

I went through the same process as before to generate the first loft for the lower housing.

I created a second loft from the top of the first one to the crease line in the buttons.


I separated this loft into a back and front section in order to create surfaces for the buttons.

My next step was to loft the middle section of the buttons.

I was able to use the fill surfaces to complete the body.
For each fill I used a curvature continuous relationship to the middle section for to ensure a high quality surface.

I used a surface trim to generate the outline of the valley for the wheel cutout.

I used a surface fill to create the valley for the wheel cutout.
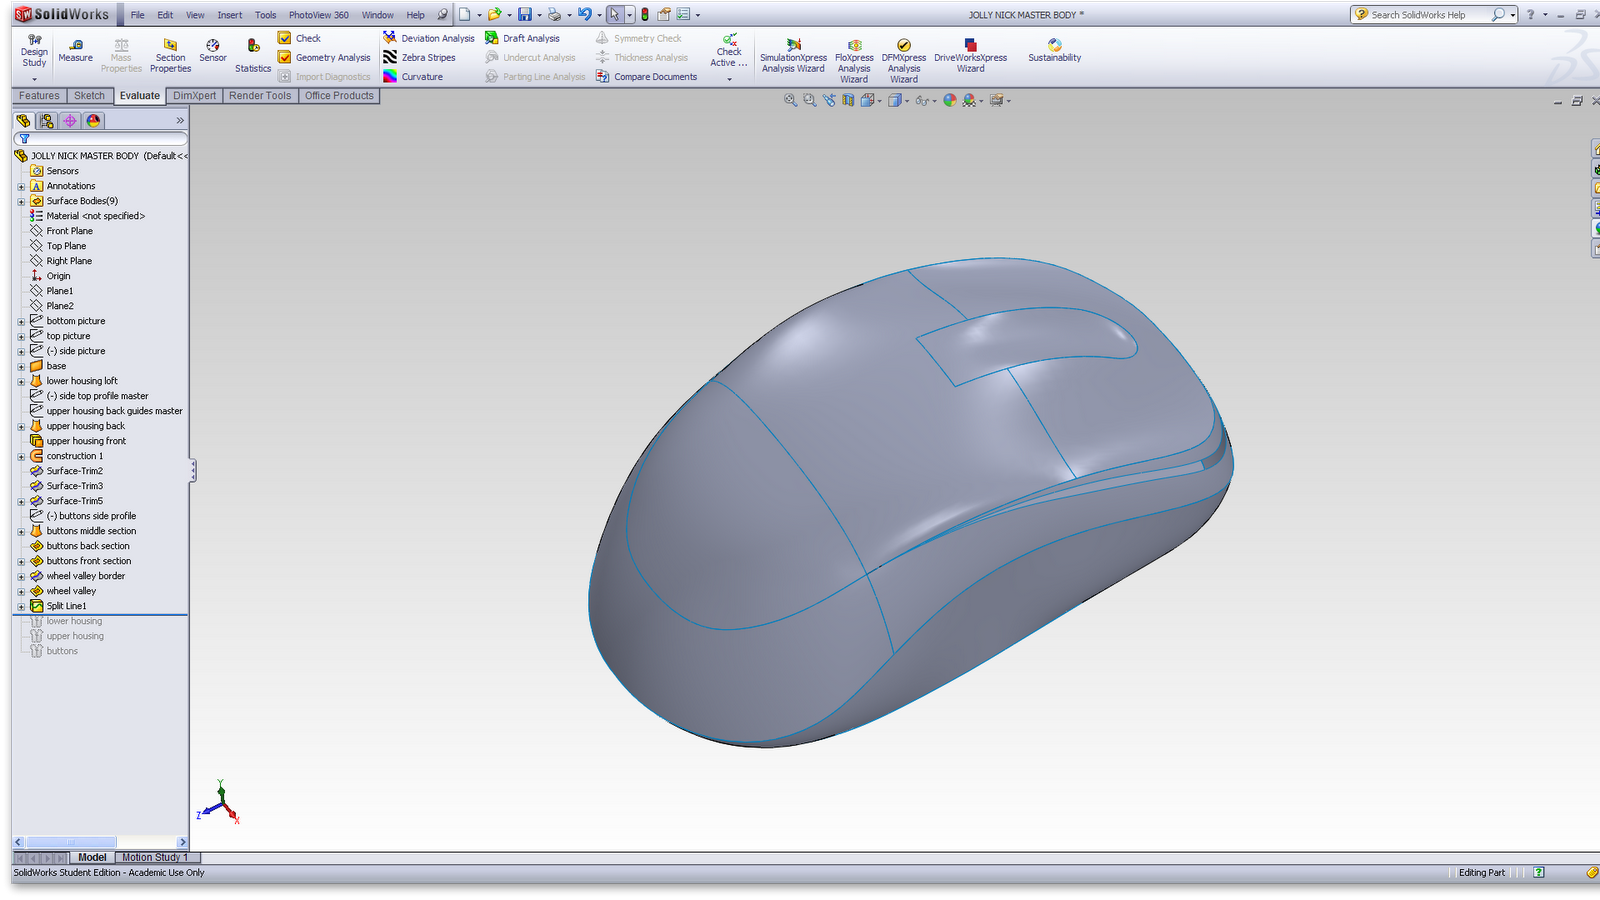
I trimmed a section away from the middle section to create the space between upper housing and buttons.

Zebra stripes showing continuous curvature across the top and around the back.

I created three surface knits; one for the lower housing, one for the upper and one for the buttons.
I saved these as part files in order to add thickness and details.
No comments:
Post a Comment